Easy Plaster Garden Gnomes
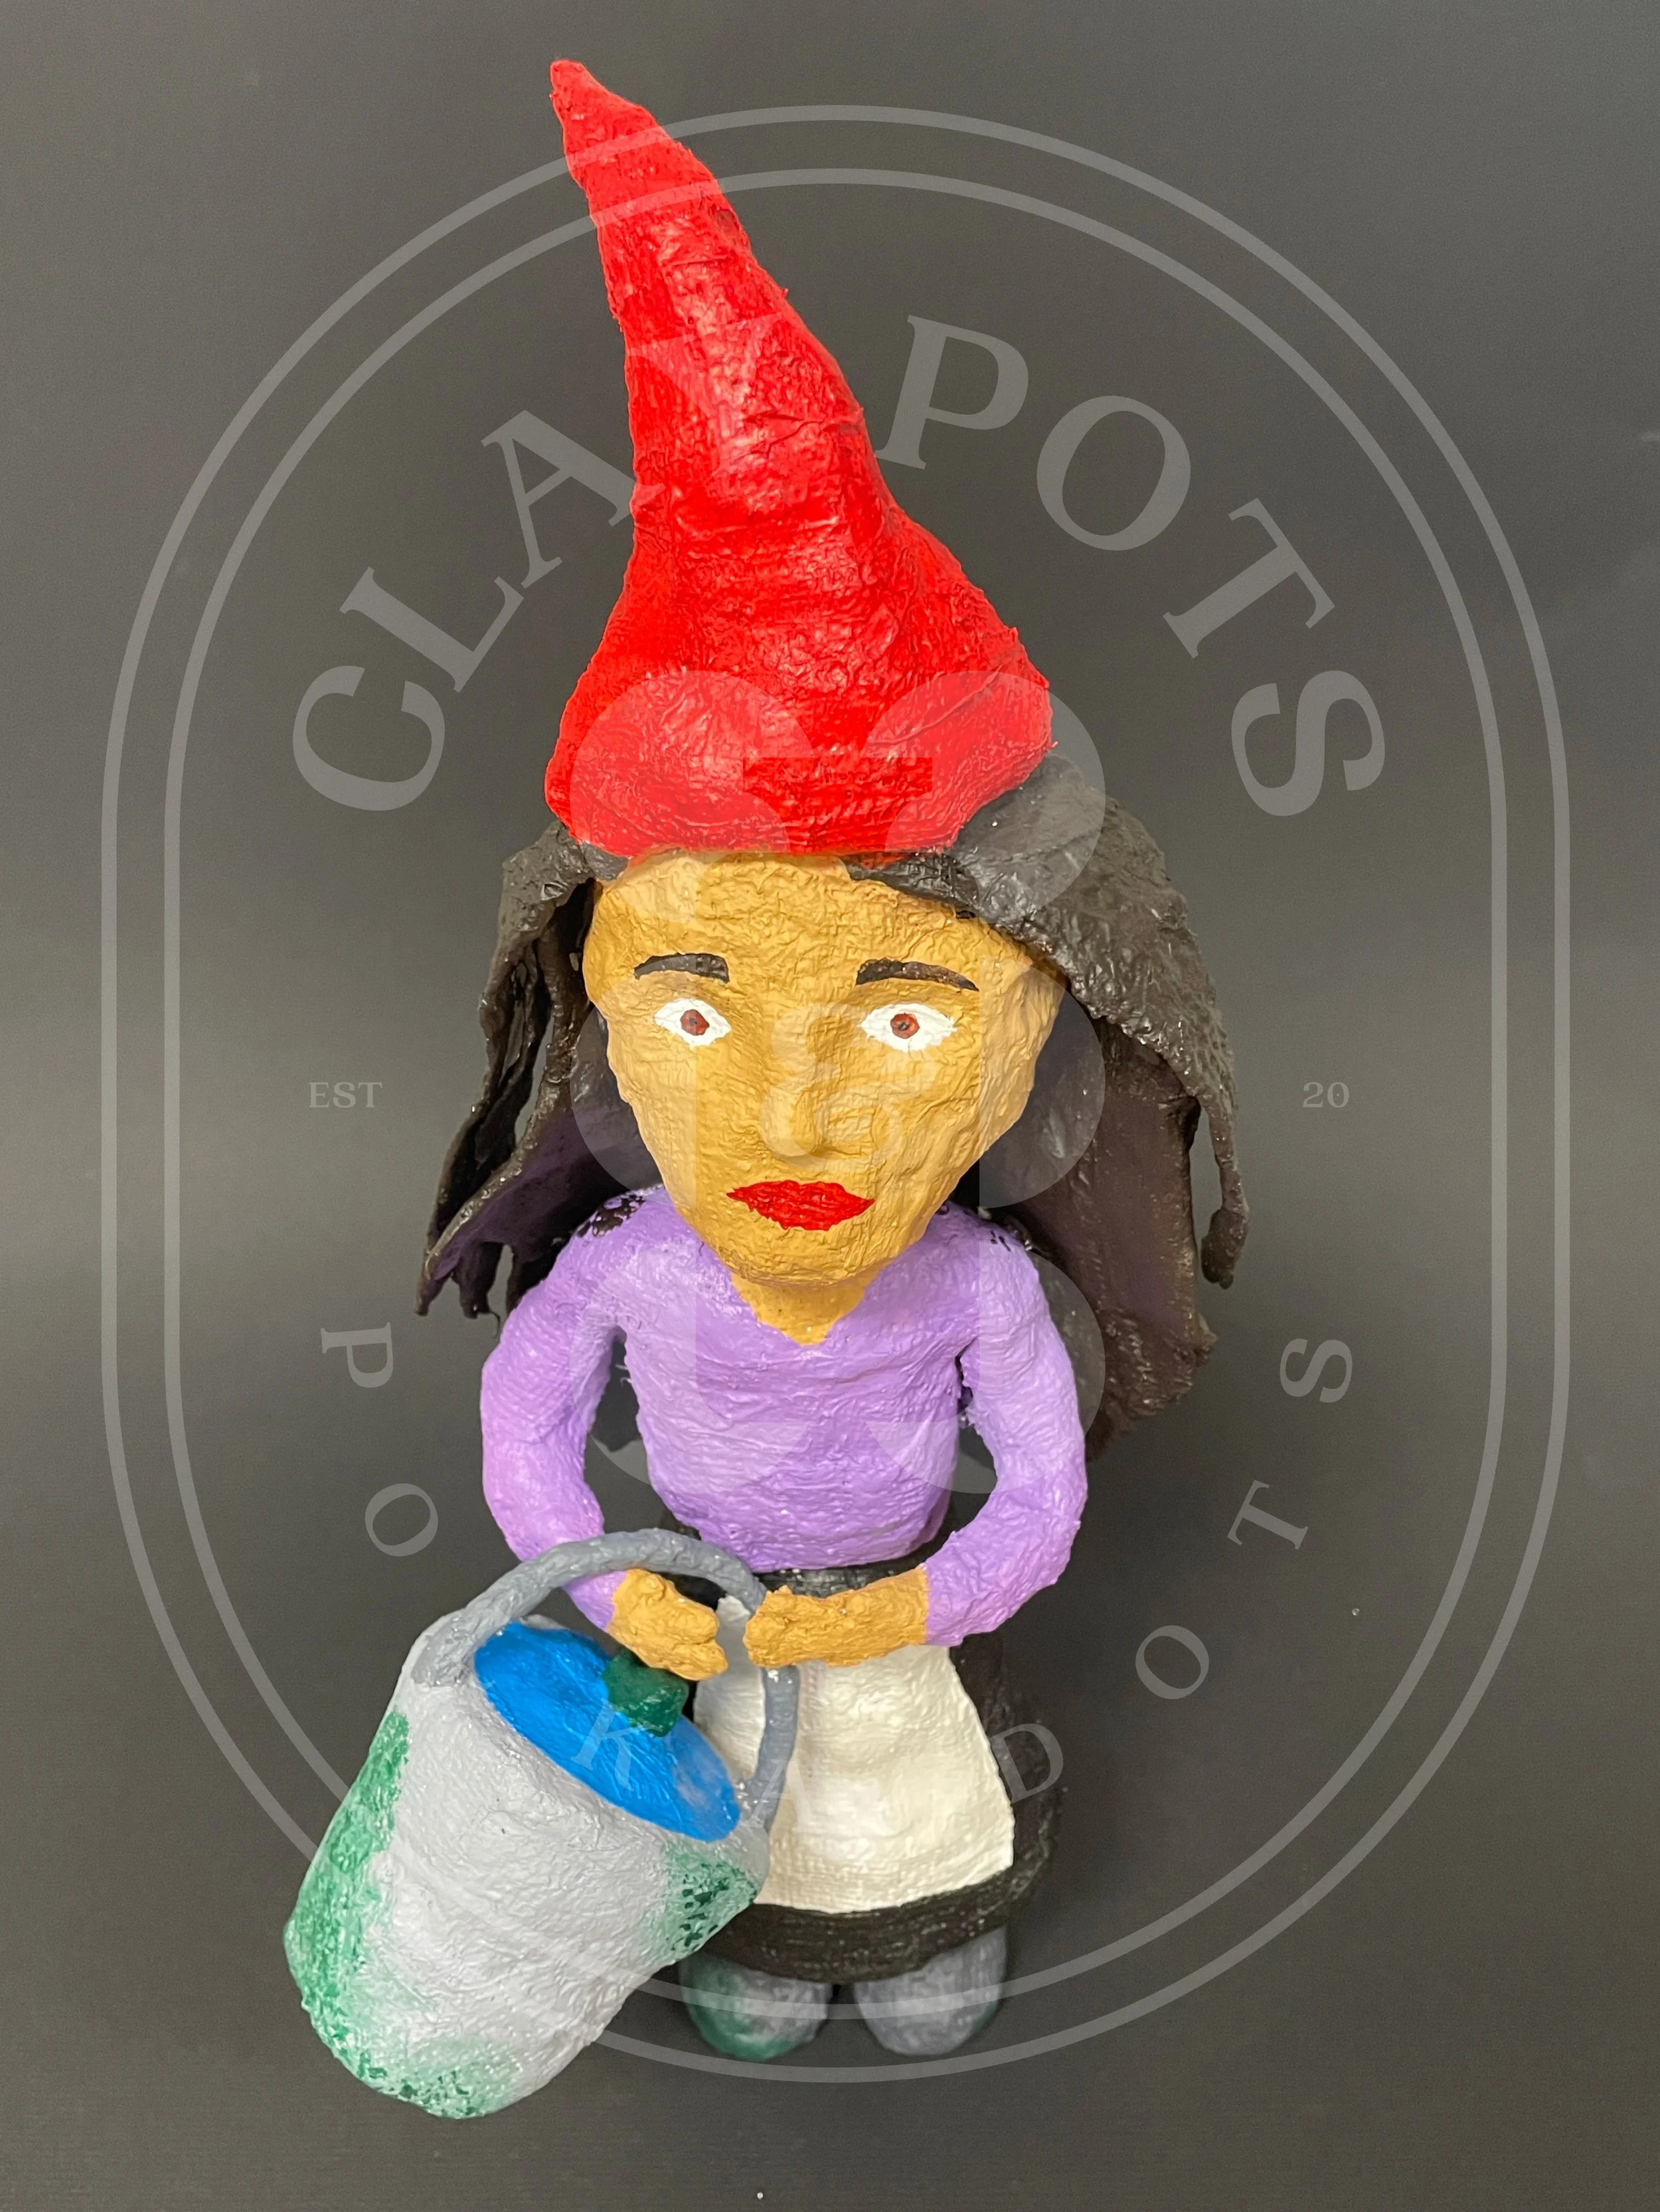
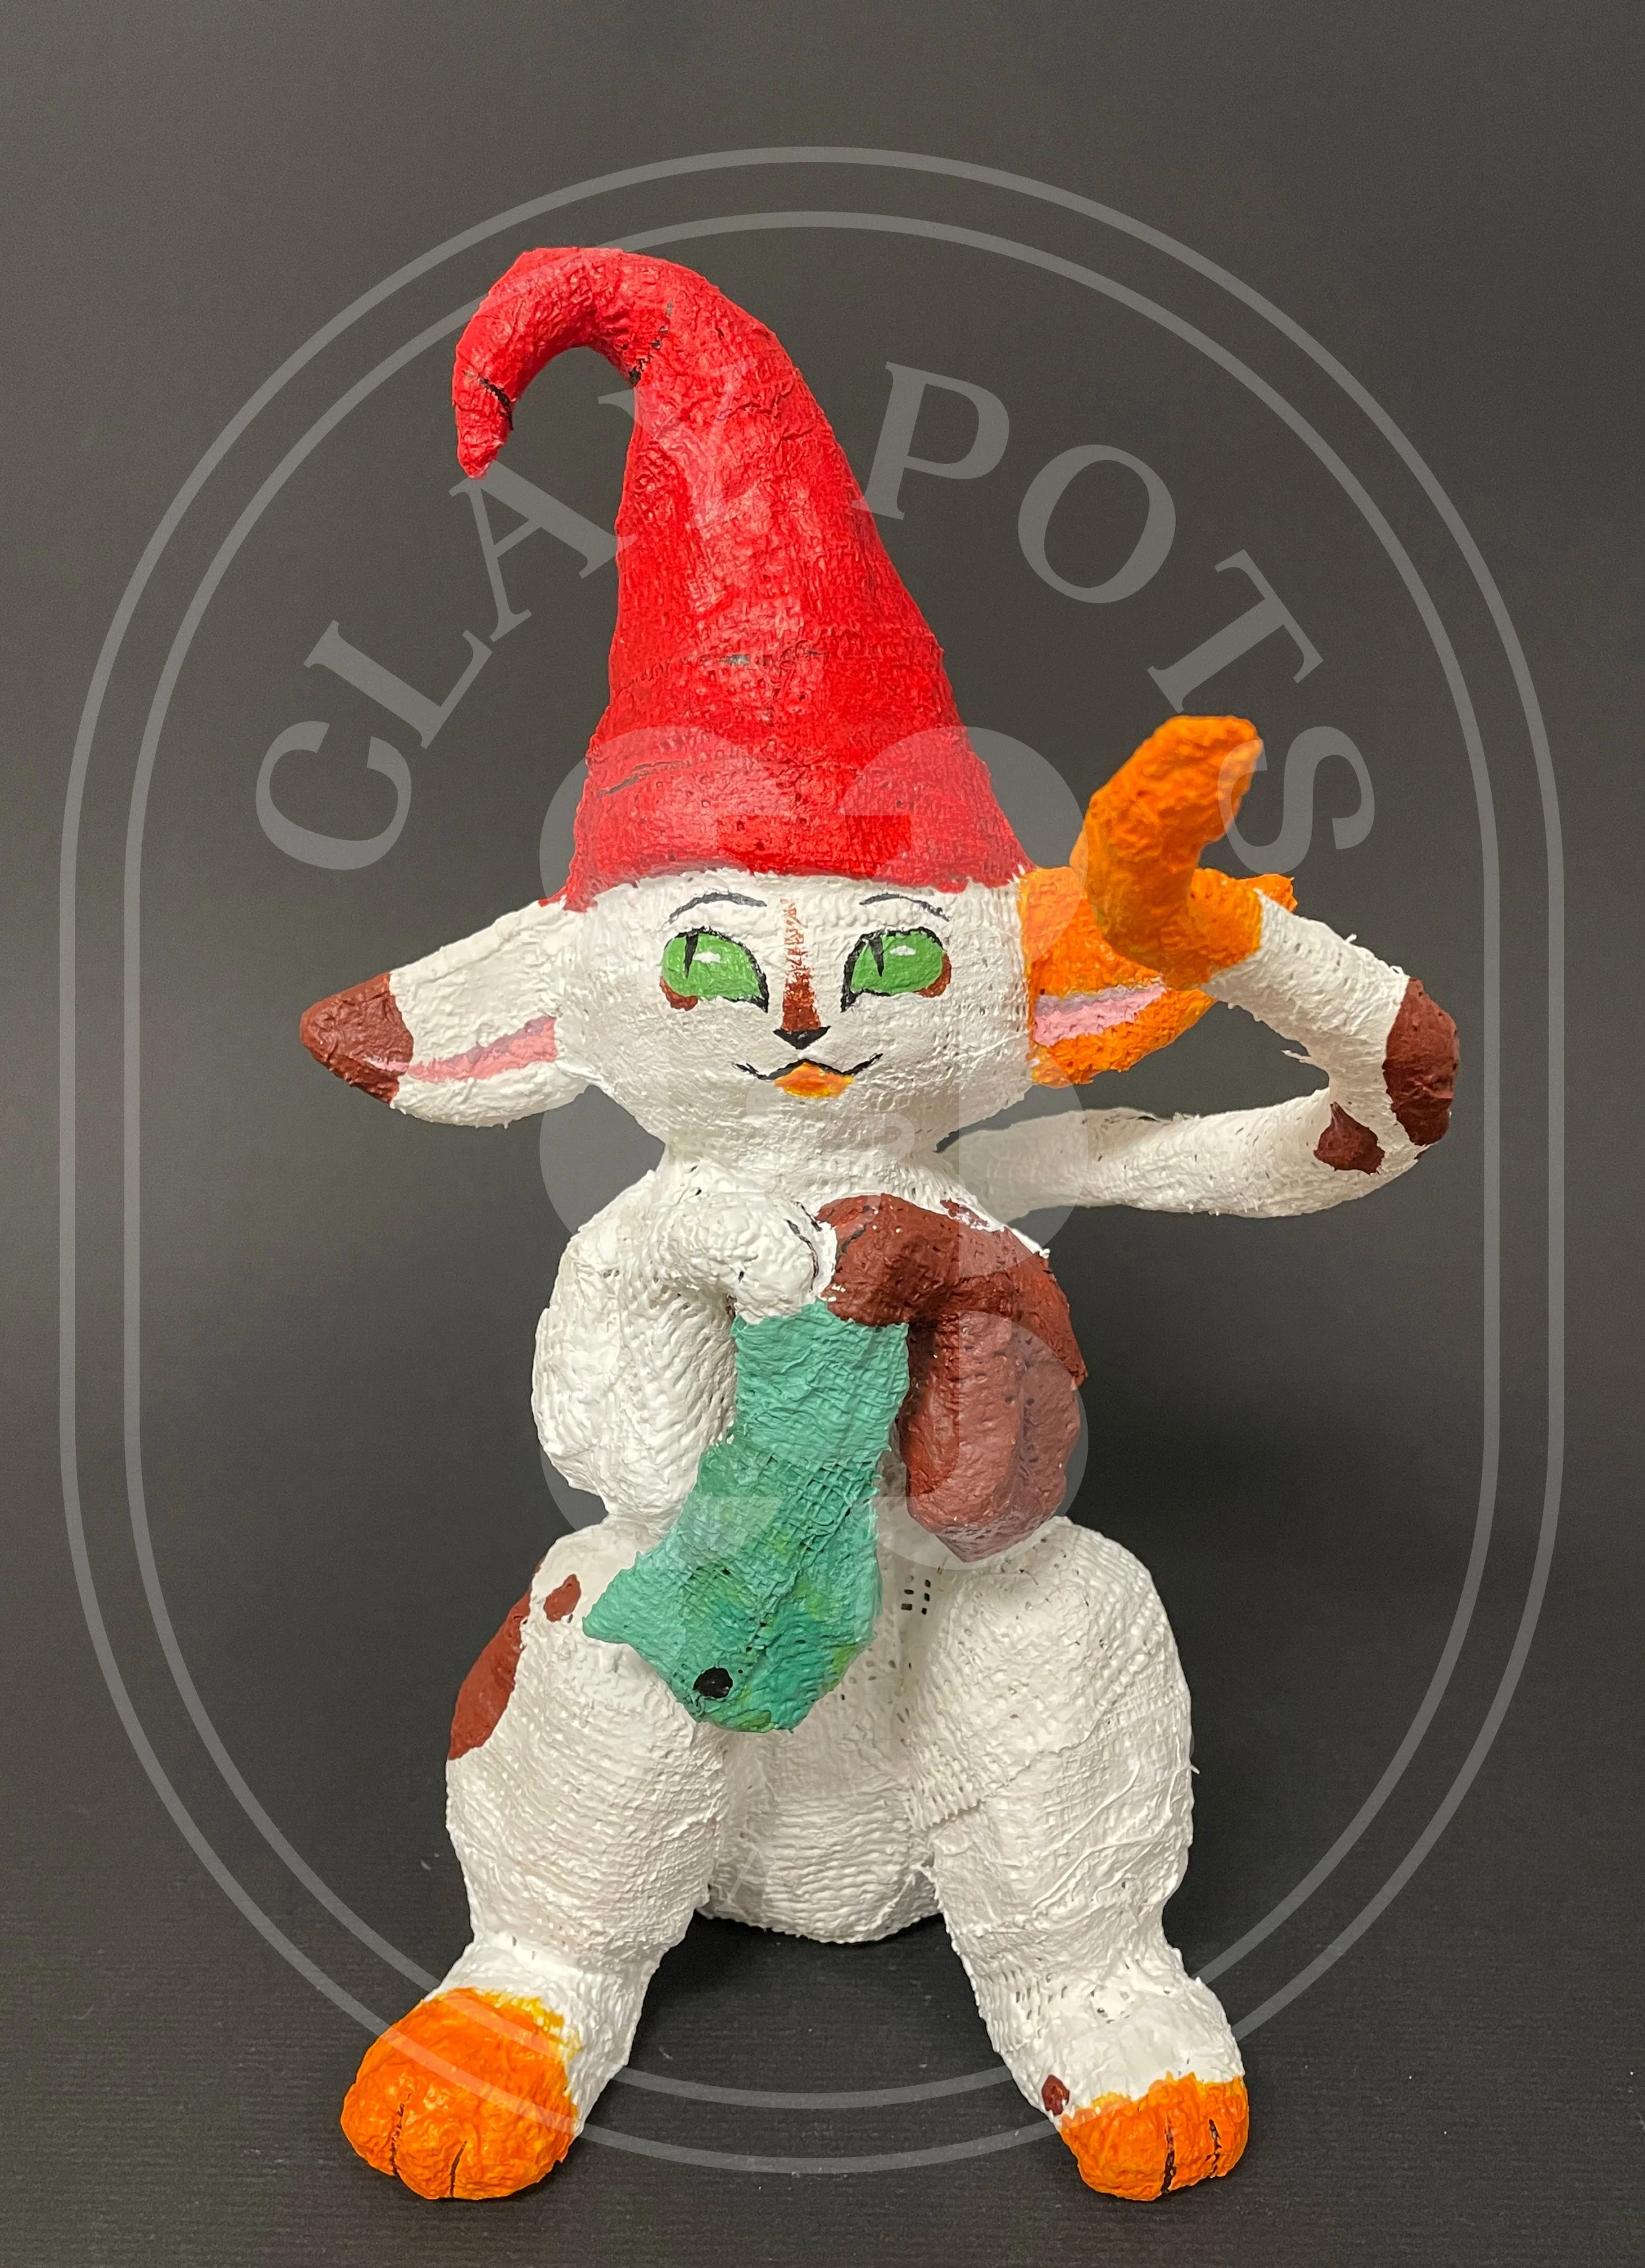
Let me just start by saying that I think these gnomes are among the cutest things my students have ever made. Period. We got so many compliments from other teachers this year as they were on display and I had students in different classes coming to make their own! Definitely a hit!
What is so surprising is how easy they are to make. I started with tin foil and made shapes for the body, legs, arms, head, hat, and other small details like his carrot, beard, and eyes. After they were all separately made, I hot glued them into place. One thing I learned was, to make it stand properly, you need to make sure the boots are flat and even!


Another fun thing I loved was getting to introduce my students to the history of gnome making, and the connections there are to WWII. Students understood the value and quality of original gnomes and aimed to create their own in a unique way.
After their gnome figures were shaped and secured with glue, we covered them with plaster strips and let them dry over the weekend (if you don’t let them fully dry, you’ll have the paint flake off in the end).
Painting was everyone’s favorite part because it really makes them “come to life”. We talked about skin tones, typical bright colors of original gnomes, and using paint to shade areas or add detailed color for realism (slightly pink noses, shadows under shirts, etc).


This project was super fun and I would definitely do it again—I loved seeing students make it their own. Check out the full lesson on my TpT store and let me know how much fun your students have! Take a look at the student examples below: